Landscape photography is perhaps the most technical photographic genre of all. In this first guide to landscape photography, I want to help you understand if this can be your main style of photography. Every photographer has a favorite genre. Sometimes, it could be difficult to find it, especially if you are a self-taught photographer like me.
Read part 1 of the Find Your Style guide dedicated to street photography!
Introduction to Landscape photography
The technique behind landscape photography is one of the most complicated and well, one of the most technical of all photography genres. For this reason, in this introductory guide to landscape photography, I will not go into too much detail. The purpose here is to explain the work a landscape photo entails, how to get it done, and which accessories are best suited.
I will introduce you to the three main elements that you will need to work on from the beginning:
- Exposure
- Subjects
- Composition
After this, you can find a beginner list of the accessories and lenses that are the most suitable for landscape photography to start your journey.
Landscape photography: the exposition
In photography, light is always the key element. In landscape photos exposure is crucial. For this reason, even if you’re a beginner you need to be extra careful with your scene exposure. I like to think of exposure as a kind of compromise between what the eye sees and what the camera can capture.
You must know that this delicate balance is never entirely faithful to reality. If you want to keep some bright parts, the camera will sacrifice some details in the shadows, and vice versa.
All digital cameras have a light meter or ISO diagram that shows in real-time whether you are overexposing or underexposing the image. This makes it much easier to figure out how to expose the entire composition in front of you.
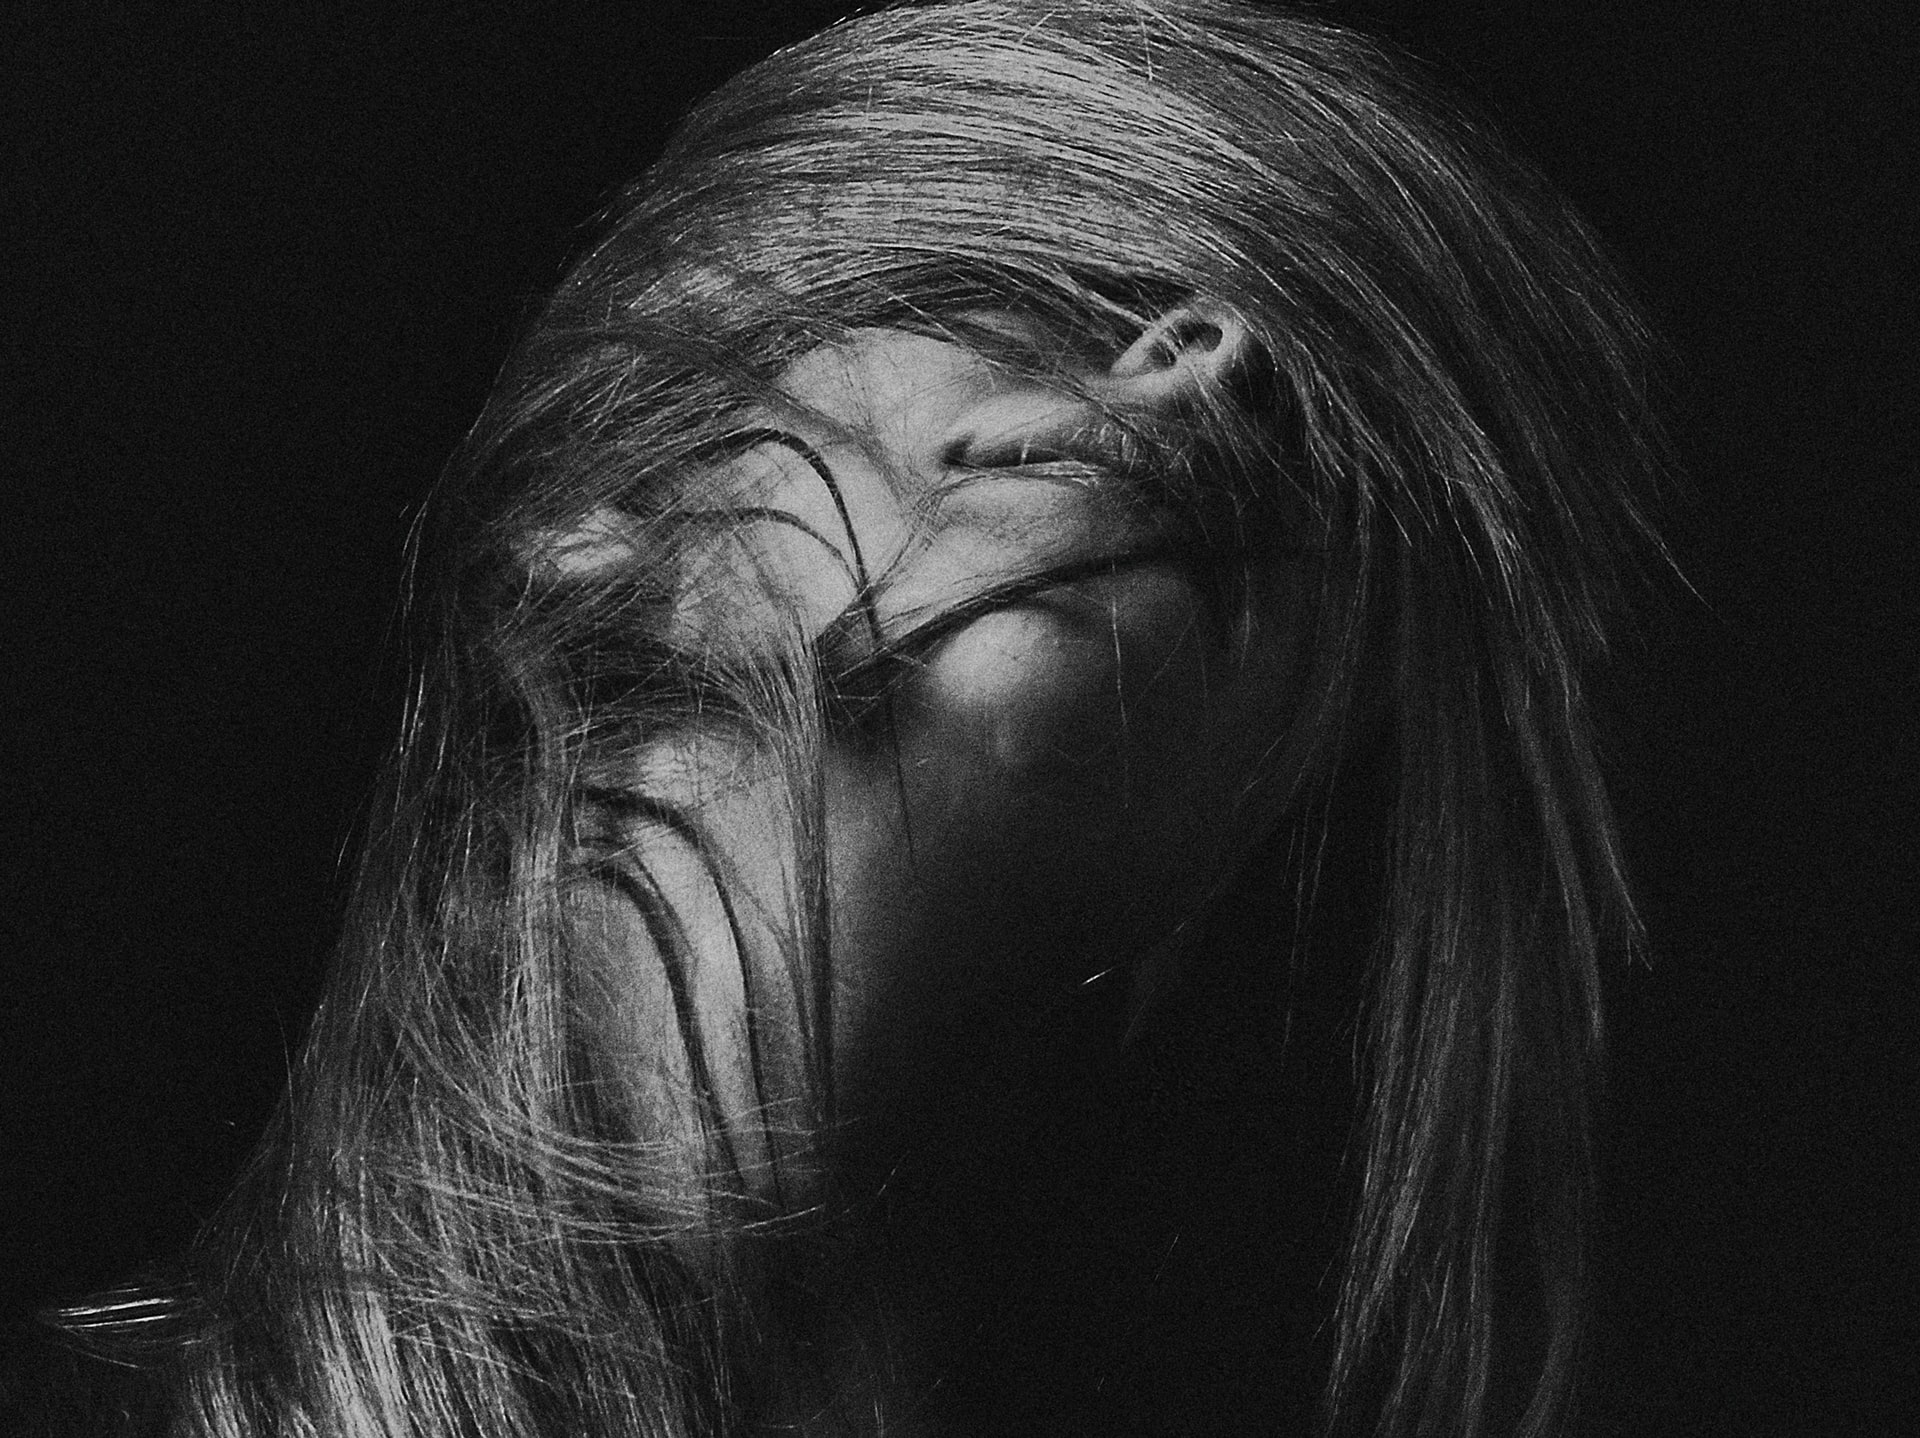
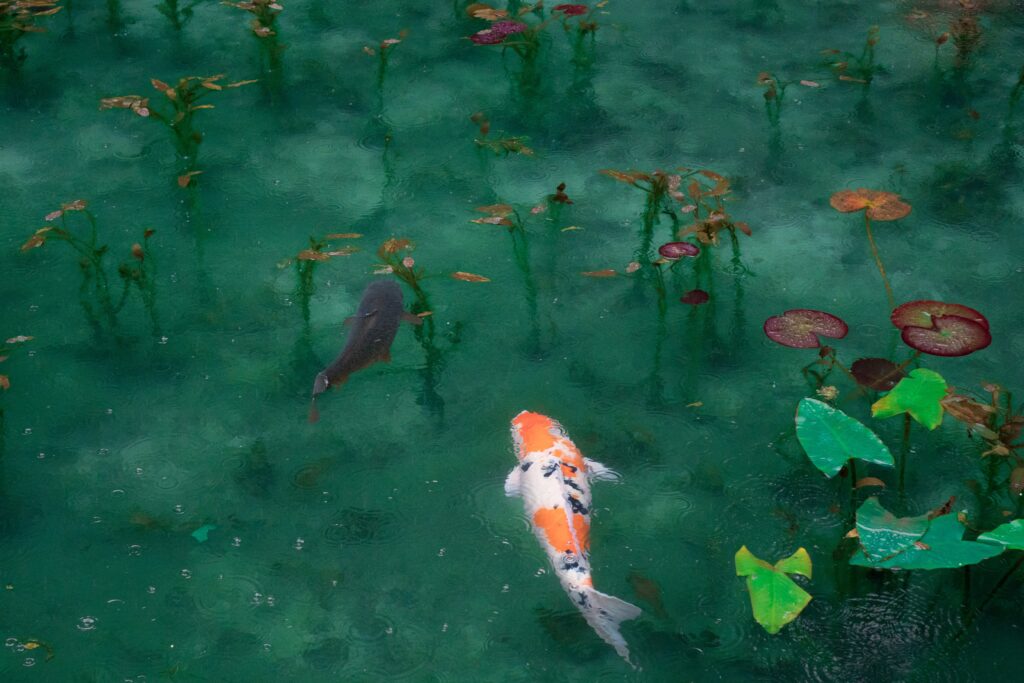
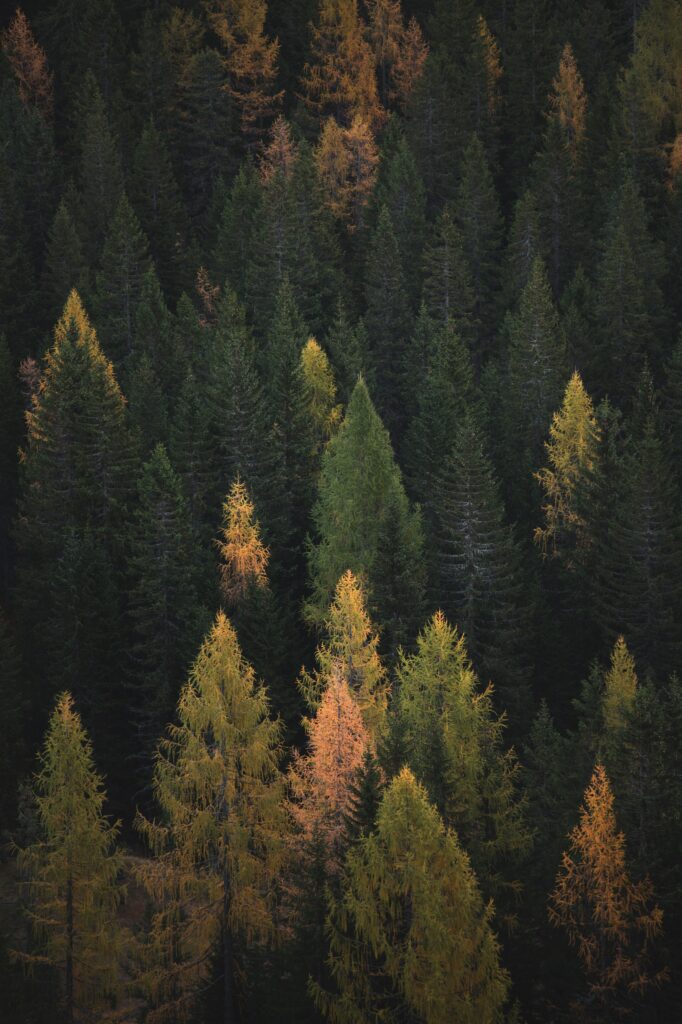
But be careful, the most beautiful landscape photographs are often those that play not only with the composition but also with the light. You will surely have seen landscape photos that seem overly retouched, or badly exposed. Those types of errors could be some style choices. And because of those strong shadows or those unclear contrasts sometimes you obtain wonderful and unusual landscape photos.
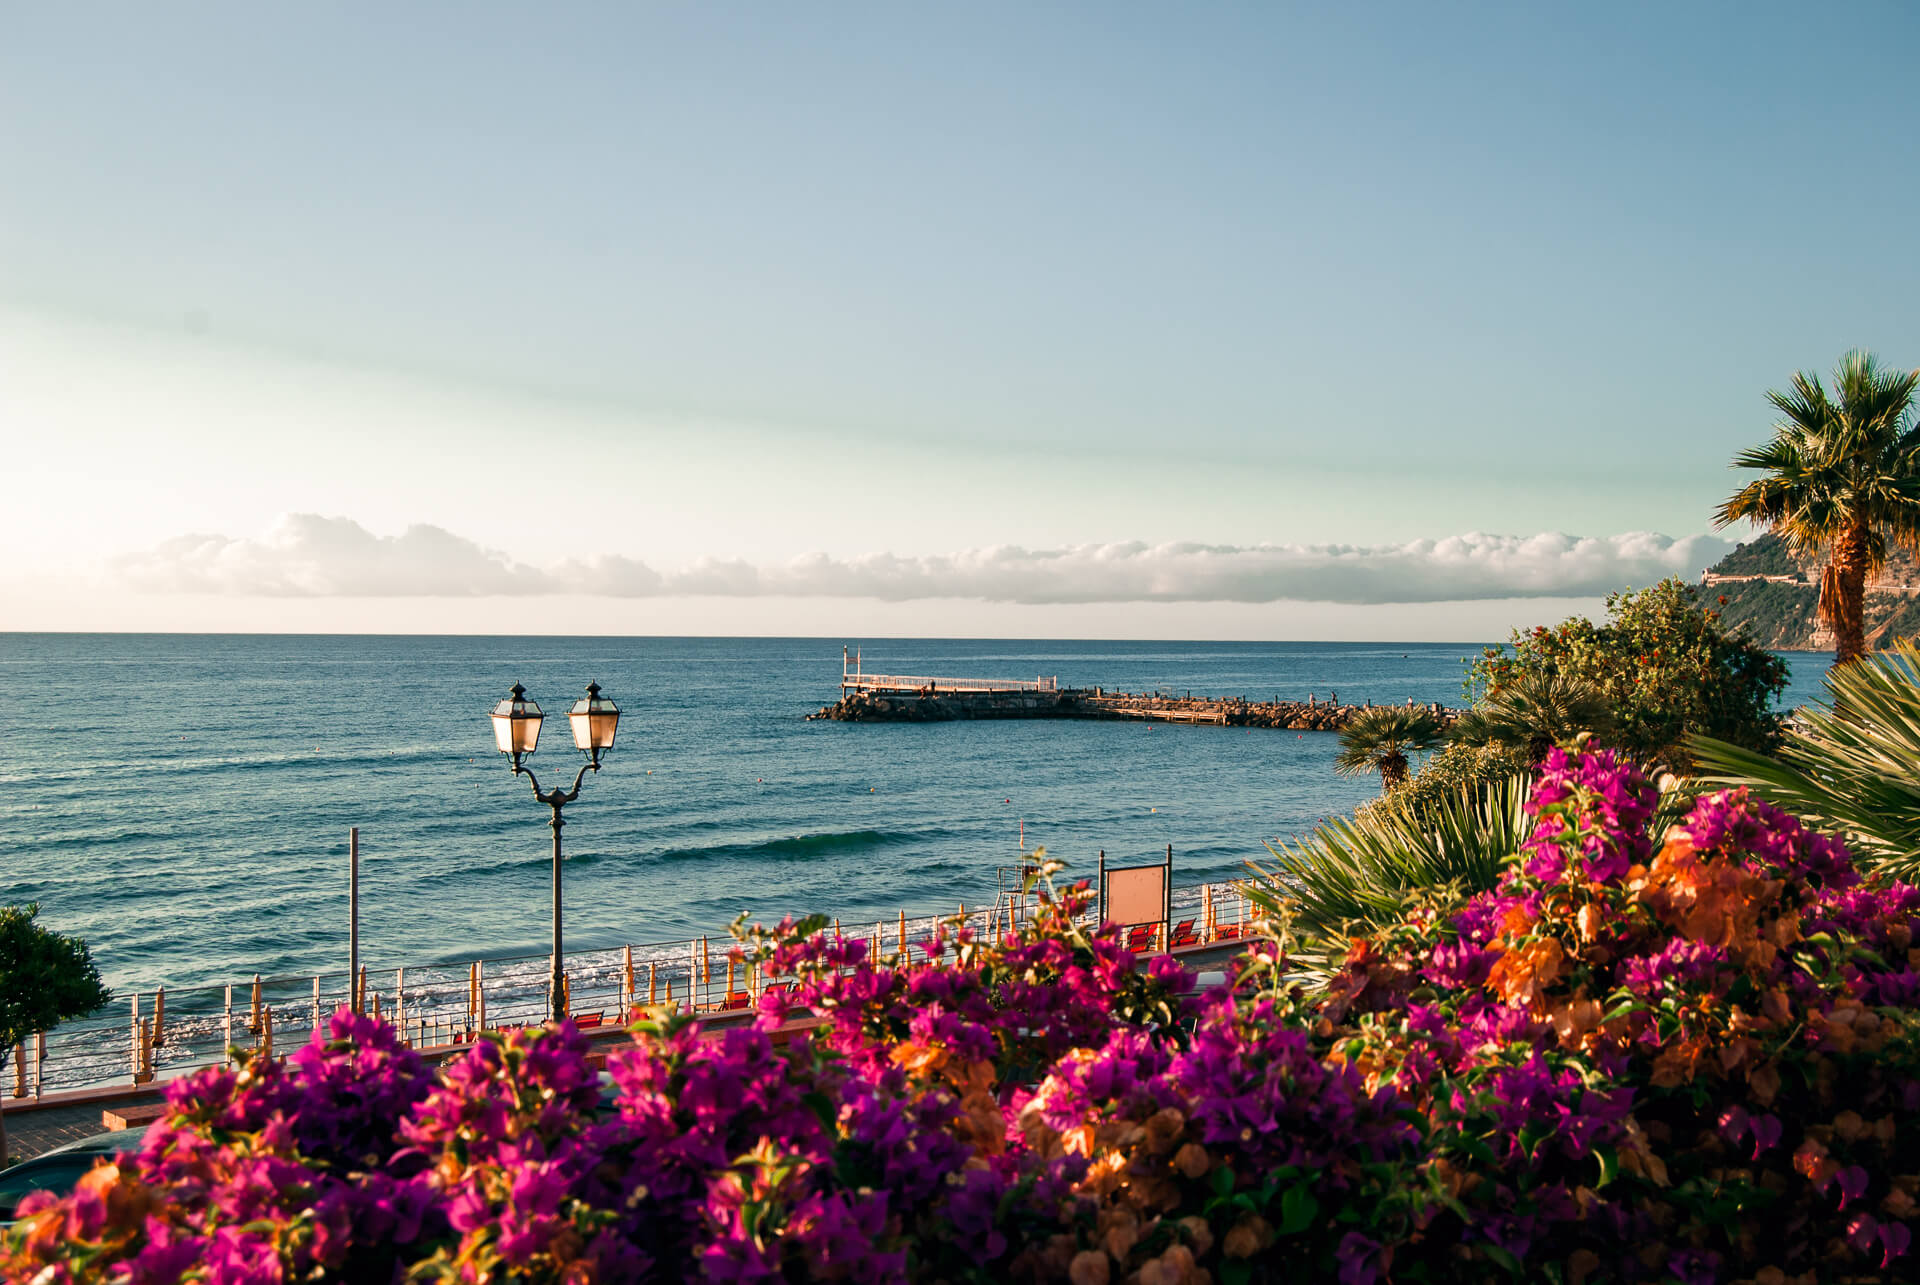
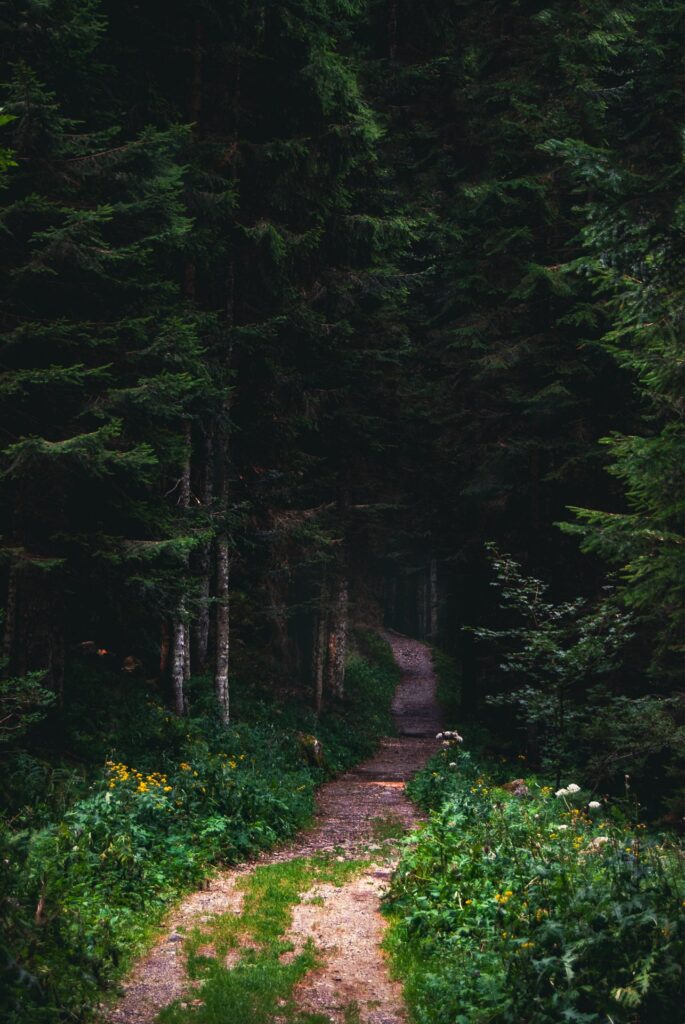
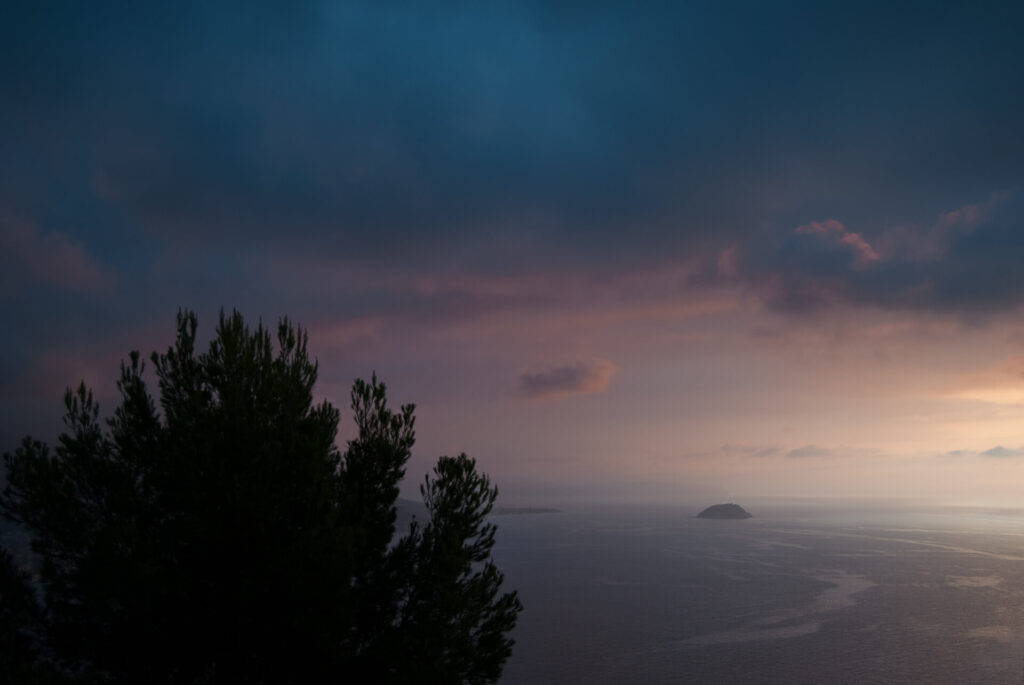
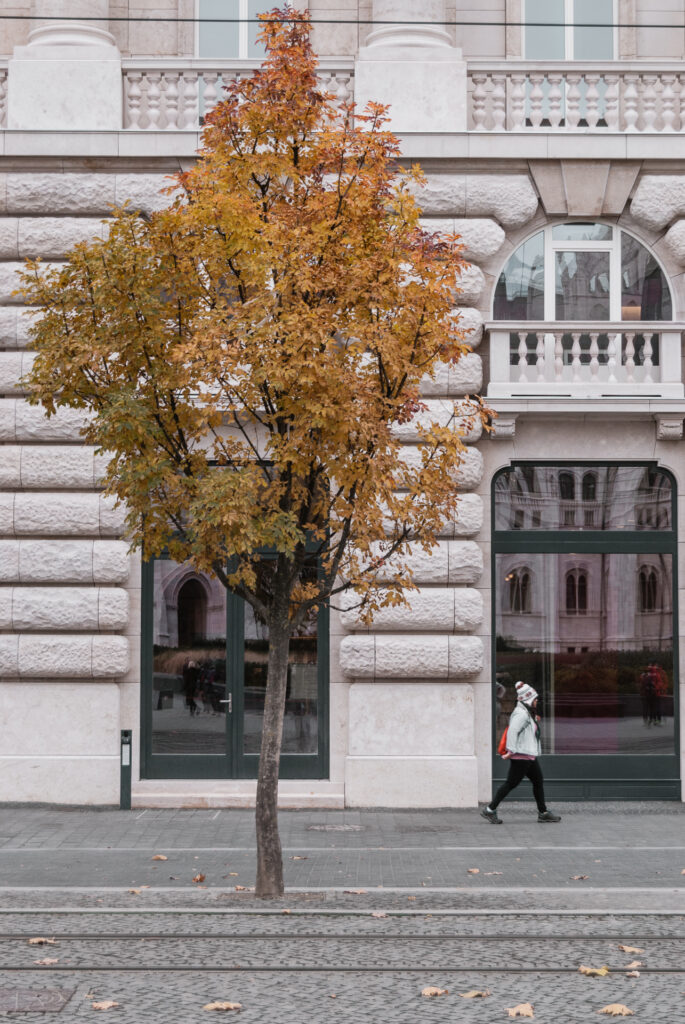
I’m talking about artistic choices in this case and in which I invite you to experiment yourself. Here are some images from which you can draw inspiration.
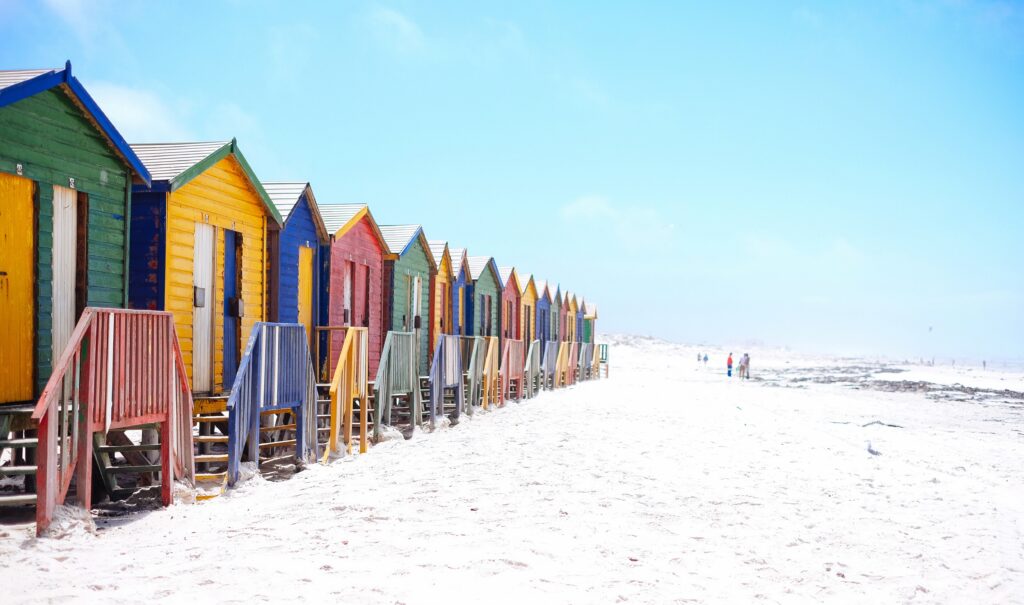
Control the exposure with ISO, shutter speed, and aperture
Let’s start with a small technical clarification: in photography, the amount of light needed to expose correctly is determined by the ISO value.
The higher this value is, the less light will be needed for good exposure.
On the other hand, however, every time this value is raised, the photograph develops a much stronger background noise. This means that every time you try to zoom in, the image will be very grainy and not very sharp.
A valid alternative that I recommend and that I immediately applied to my landscape photography is to rely more on shutter speed and aperture than ISO. Of course, you can’t forget about the ISO, but if you also work on the speed and the type of aperture, you will be able to keep a lower ISO value and get the same results, but much better.
Landscape Photography: the subjects
The beauty of landscape photography is having a great variety of subjects available. Taking beautiful landscape photos is easier if the location is already breathtaking and I would have guessed this too.
But trust me if I tell you that you can be in the most beautiful place in the world, but if you are not able to portray it accurately, all its beauty will not shine through or, at least, not as you wish.
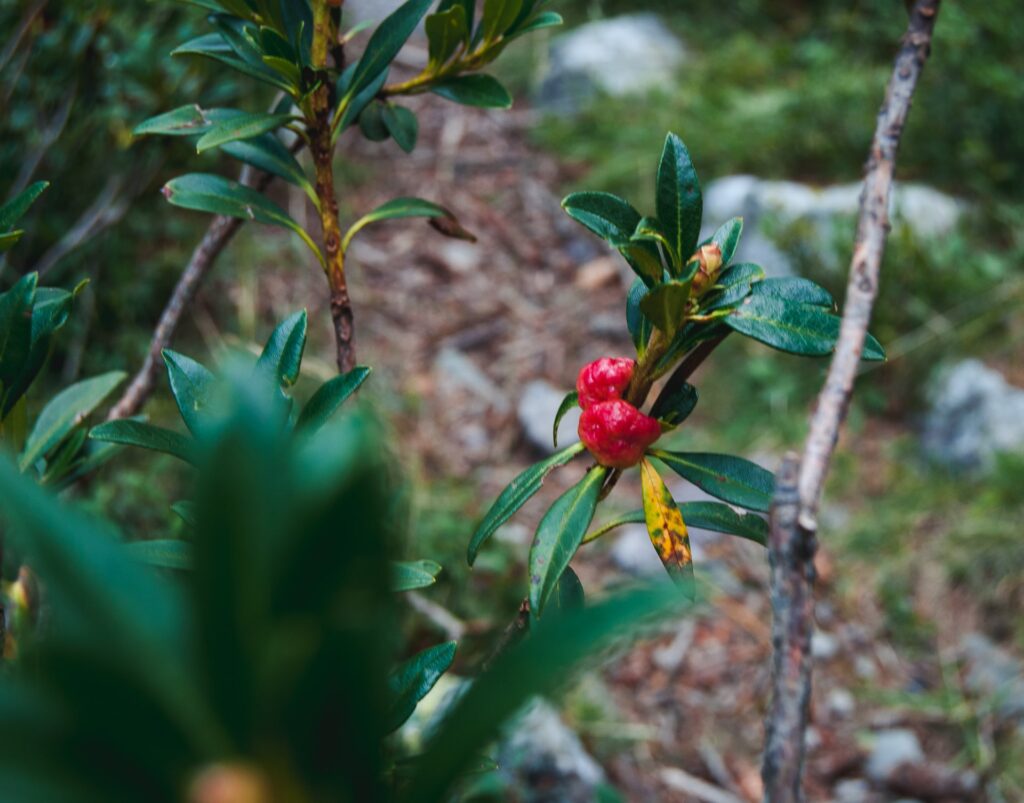
My advice, in this case, is to experiment and try to shoot different subjects: mountain landscapes, and sea landscapes, but also macro shots (close up) that depict miniature landscapes. An example could be portraying the details of undergrowth or a beach. This always falls under landscape photographs.
I will not stand here to tell you what to photograph. Your preferences and tastes know this better than I do. Just try not to repeat the same shots over and over again in different locations. Try new angles, and new photographic techniques, and have fun!
Landscape Photos: the composition
I never get tired of repeating it: a good composition is 50% of the work. At first, you will hit your head a little bit, but once you get the hand, you won’t even notice it anymore because it will come naturally to you.
Composition is the art of creating an aesthetically pleasing image
David Taylor
This is the one element of technique that you cannot rely on just your SLR. There are no shortcuts and there are no excuses, you just have to roll up your sleeves.
There will be times when you will have plenty of time to think about the composition and how you want to portray the scene. But it will also happen that you have to act quickly because Mother Nature does not always have the time to pose.
There are some rules you can follow, especially in the beginning. First of all the rule of thirds. In photography, everyone knows and uses it. It is the basic rule that allows for obtaining balanced and pleasant compositions.
This rule involves dividing the image into 9 squares by drawing two vertical and two horizontal lines. The aim is to place the main elements on the lines or at the intersection points.
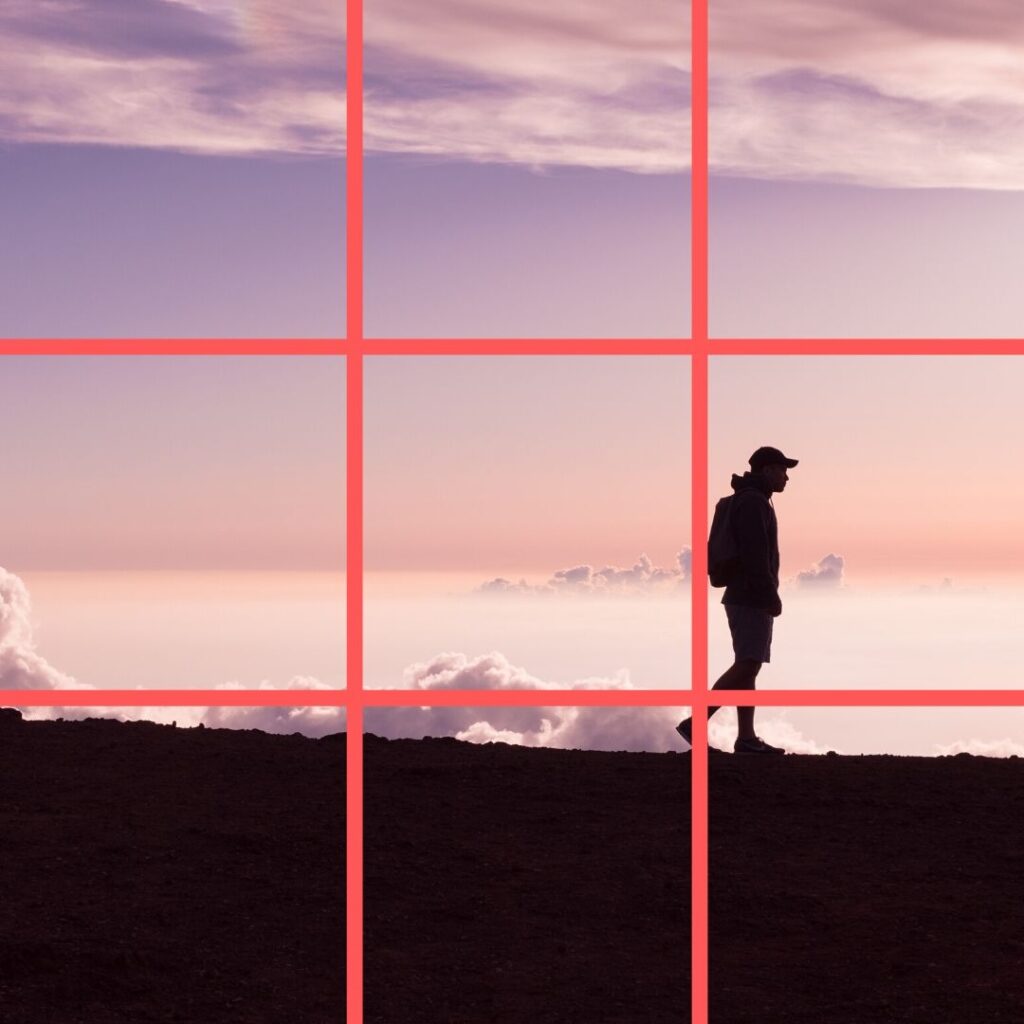
Another unwritten rule is the odd rule. According to this, it is better that in the scene there are odd rather than even subjects, of which one will always be framed by the others (one on each side or only two on one side, etc.). This is because an image with even elements is flatter and less punchy.
There are a few other rules you can follow, but I don’t want to go into too much detail in this article. Let me know if you’d like a photo composition guide!
Landscape Photography: best lenses and other accessories
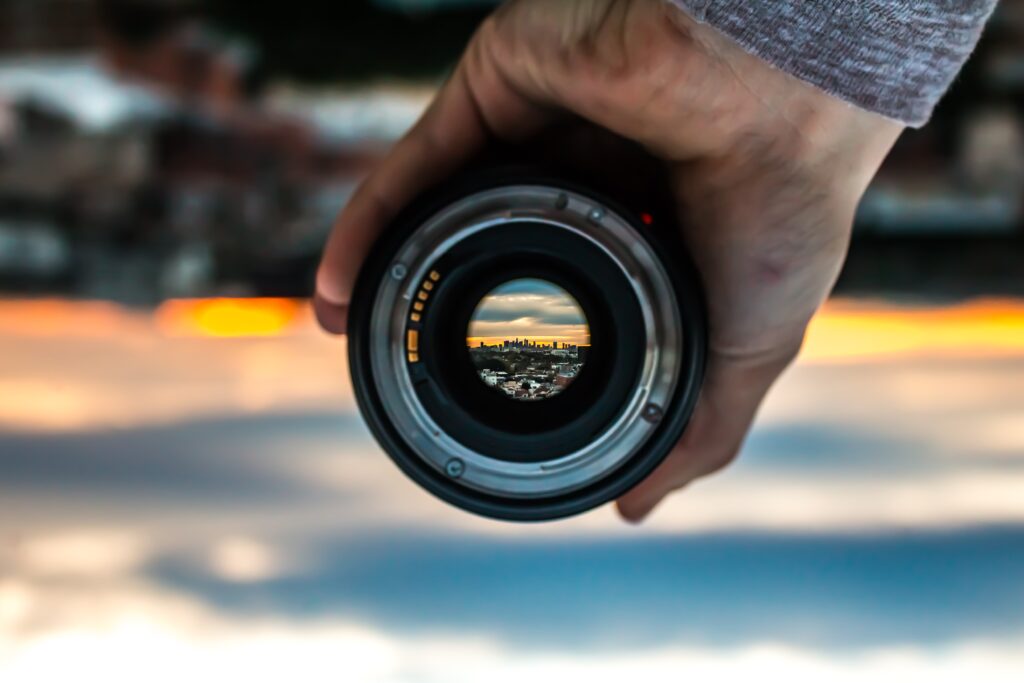
I could talk for hours about the possibilities you have regarding the choice of lenses for landscape photography. I just want to give you a first general idea of what you might need.
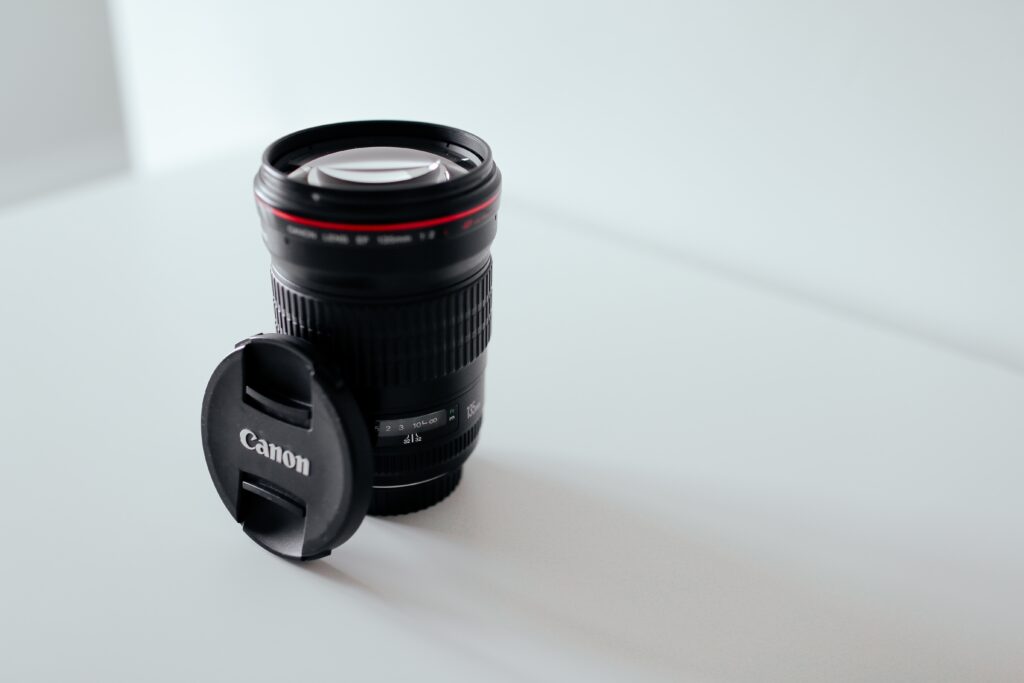
Best lenses for Landscape Photos?
Zoom lenses are undoubtedly the most popular because they allow you a great variety of compositions, being able to change the focal length without changing the lens.
Being self-taught photographers and beginner photographers, my advice is to start with this type of lens. I would suggest you wait to buy prime lenses until you feel ready since they are quite expensive.
To start landscape photography, the basic lens your camera is sold with will be more than enough. I just tell you that all the photos I have taken so far have been taken with an 18-55mm. This is a kit lens and is designed to do a little bit of everything, including landscape photos.
The more experienced you become, the more you can evaluate whether to switch to prime lenses. The advantage of these is that they tend to have a larger maximum aperture. And since landscape photos require the use of small apertures to have a greater depth of field, the advantage is obvious.
Then there are the wide-angle lenses which are generally those most associated with landscape photography or better with architecture photography because they can cover a wide angle of view. In my opinion, for a beginner photographer, these kinds of lenses are not suitable because they require certain technical knowledge.
And again there are telephoto lenses which are generally those with a focal length of 70mm and up. Most often used in nature photography, however, they are excellent allies for capturing very distant scenes or isolating small details.
Best accessories for Landscape Photos
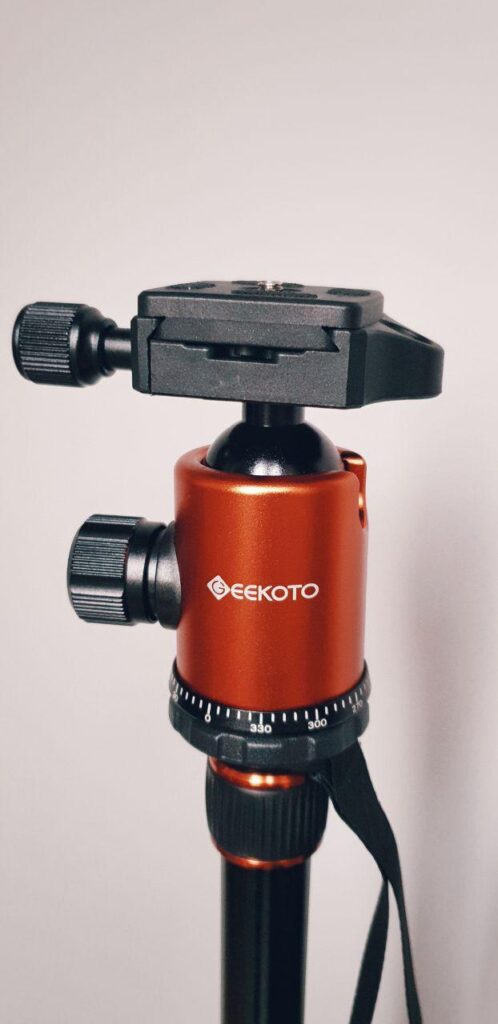
Among the must-have accessories, there is the tripod. No matter if big or small, professional or for beginners, the tripod is an indispensable accessory.
It is also very useful to have a remote control that allows you to shoot without touching the camera. This comes in handy on long exposures and low light conditions, where a single vibration can compromise the final result.
Now you have all the basic information to start discovering landscape photography. Who knows, maybe this will be your photography style. See you next time!
